UPDATE: So when I started this blog, I had no idea that the string art I made would take off! I am currently selling creations in 8 locations around Ohio and online through my Etsy shop! I even host DIY String Art Parties where you can come and learn how to make your very own piece of string art!
You can find me on Facebook at Trash to Treasure Creations, on Instagram @trash2treasure83, or on Etsy at trash2treasure83.etsy.com
A few things changed in my technique and the supplies that I use and I would love to share my updates!
1. I use wood that is AT LEAST 1/2 thick. I found that when the wood was 1/4 inch thick, nails were much more likely to fall out.
2. Lowe's or Home Depot will cut wood to whatever size you want. I kept my piece at 24inX24in, which really made a statement. I know not everyone has the space for that size art. Currently, I sell creations in 16inX16in and 12inX12in.
3. I use stain more often than paint. But this is definitely personal preference. You can actually get stain in tons of different colors now which is cool if you want to wood grain to show through.
4. Nail spacing matters. I try to keep my nails 1/4 inch apart or smaller for tight patterns like the example in the blog. I space them out further when I am creating a more sporadic design. I also use size 16X1 1/14 wire nails typically. You can also use paneling nails which come in a variety of colors.
Check out some other work I have done recently:
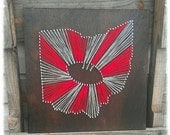
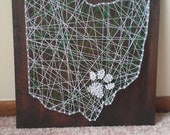
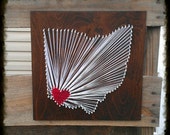
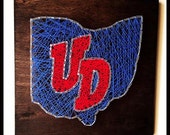
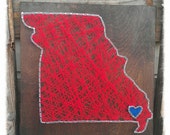
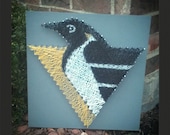
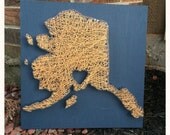
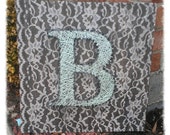
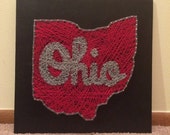
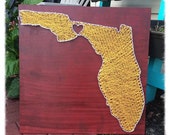

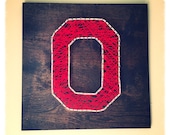 And now for the original post:
So I've been crafting like crazy these past few weeks gearing up for holiday craft shows and possible consignment deals. My laptop has been down but I've finally managed to get back to blogging.
The craft I tried this week has been crazy popular on Pinterest. I saw it and instantly fell in love. Being from Ohio, the "Columbus Love" in this pin really struck a chord so I decided to give it a go. Here's how it turned out:
I didn't follow the tutorial on Pinterest though. Considering I don't own a circular saw or power sander I decided to take a different route. I took a field trip to my local Lowe's where I can't seem to walk up a single aisle without being asked if I need help finding anything. While I usually opt to pick my hardware out myself, I needed a little help in the lumber department this time.
I picked out a board that was about 24inX24in. It was huge. But that's ok. Lowe's offers to cut any wood that you purchase into the size that you want. I made the mistake of picking a board that was a little bit too thin and had a tricky time trying to make sure the nails didn't poke through to the other side. So if you're trying this at home, make sure you pick out a thicker piece of wood.
Next, I picked out a paint color to paint the background. I chose grey since it would make the white string pop and since it went along with the Ohio State theme I was trying to stick to, being the alumni that I am.
I then painted the board using a roller:
While the paint dried, I created a stencil on my computer. I found an image of Ohio and blew it up just using a standard paint program. (Note: Paint sucks, you should try Photoshop or Fireworks if you want it to work better. The netbook I'm currently using just isn't equipped with either.)
I cut out the pieces, taped them into a big stencil, then used painter's tape to tape it to the board. Then, I hammered wire nails into the board around the perimeter of the stencil and then removed the paper from the board:
I chose to stick with the heart design for the middle. I traced a heart onto the board then painted it red. Once it was dry, I hammered nails along the perimeter of the heart as well.
Now it is time to start stringing! I tied off a piece of string to one nail then began looping it around the nails that made the heart. To figure out how many times I should loop the string around the heart nails, I simply divided the number of nails I used for the outline of Ohio by the number of nails I used for the outline of the heart.
Afterwards, it looked like this:
I added a buckeye leaf in the corner of mine just to stick with my Ohio State theme. All in all it was a pretty quick and painless piece!
Stay crafty, my friends!


