I mentioned earlier that I am big into upcycling. But sometimes it isn't always obvious how to reuse certain products. For example, I recently bought new pillows for my bed and was planning on getting rid of my old ones. I felt bad just throwing them in the dumpster but what else was there to do with them?
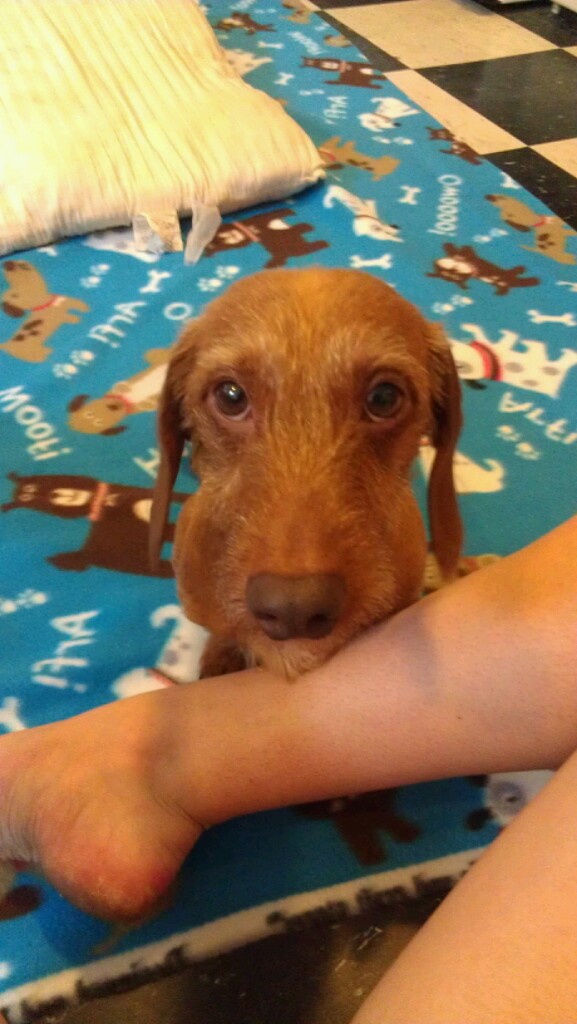
I have to thank my dog, Teejay, for the inspiration for today's project. I set my pillows next to my trash can in my kitchen with the intent of taking them out to the dumpster when I took my trash out later that day. However, Teejay had other plans. This is how I found him:

It got me thinking that this pillow would make the perfect template for a new doggie bed for Teejay. This is a take on the no-sew blankets that are ever so popular. But instead of making a blanket, I made a pillow cover.
WARNING: Teejay shows up a lot in this tutorial. He was so excited about new, comfy material that he just wouldn't leave me alone while I was making the bed. Eventually, I got tired to trying to shoo him away.
The first step is to pick out your fabric. Your best bet is fleece. It works well for the no-sew part. As you can tell from the name of this blog, I really only do crafts that don't involve any sewing. I really can't sew and it really annoys me when cute crafts are ruined by my inability to sew correctly. Anyway, I picked out two different patterns that were 60% off at Jo-Ann's and ended up paying under $10 for the fabric.


Teejay was so excited about the new fabric that he couldn't leave them alone long enough for me to get a good picture. I purchased a yard of each fabric but that ended up being way too much! I trimmed the fabric down so that is was a little bit larger than the pillow. I made sure to leave enough fabric around the edges to make the strips to tie the pillow together. Teejay, of course, had to be the center of attention.


With the fabric cut to size, I laid the pieces of fleece on top of each other. I cut squares of fabric from each corner. Then cut about 3 inch strips down each side. They don't need to be exact or perfectly cut, trust me. That's the beauty of no-sew.


When I finished cutting it looked something like this:

Next, I began double-knotting the top and bottom layers of fleece together. TIP: Don't tug on the fleece too hard or it will stretch out. Be gentle!


Before tying the final side, I put the pillow inside. Teejay had to get off the fleece for this part. But he stayed close by in my lap.


After I finished tying the final side, the project was complete! It took under a half an hour to do. The best part about this pillow is that there is no stuffing immediately available for Teejay to chew on or pull out and make a mess!
The final product (and a very happy puppy):

Stay crafty, my friends.
No comments:
Post a Comment